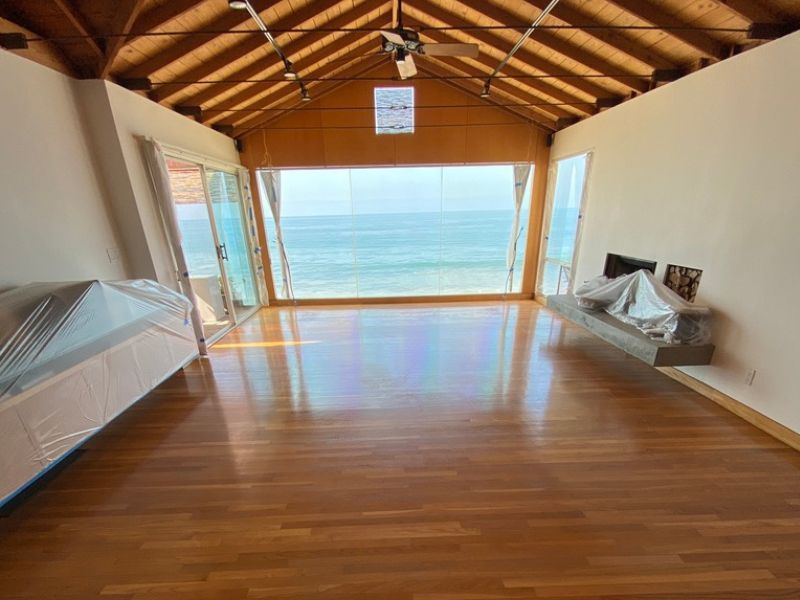
The #1 Hardwood Floor Refinishing Company in
Los Angeles, CA
And the Surrounding Area
Custom Hardwood Flooring LA offers top-notch hardwood floor refinishing services in Los Angeles, CA, ensuring your floors regain their original beauty and luster. Contact us today to schedule a consultation and experience the best hardwood floor refinishing service possible!
Our Process
Custom Hardwood Floor Refinishing Process in Los Angeles, CA
We take pride in our comprehensive approach to hardwood floor refinishing. This includes a detailed evaluation of your floors, customized refinishing plans, and precise execution.
Our team utilizes top-of-the-line materials and the latest techniques to achieve a flawless, durable finish. Whether your floors need a light touch-up or a complete overhaul, we handle each project with meticulous care and attention to detail.
Sanding, staining, and refinishing hardwood floors involves several detailed steps to restore the floor’s beauty and durability. Here’s an overview of the process, including necessary preparation and potential additional work:
1. Preparation
- Clear the Room: Remove all furniture, rugs, and any obstacles. Ensure the room is completely empty.
- Inspect the Floor: Check for loose boards, nails sticking out, or damaged areas that need repair.
- Clean the Floor: Sweep, vacuum, and mop to remove dirt, dust, and debris.
- Protect Adjacent Areas: Cover vents, baseboards, and doorways with plastic sheeting or painter’s tape to contain dust.
- Check for Lead-Based Finish: For older homes, test for lead in the old finish, as it may require professional handling.
- Plan Ventilation: Open windows or use fans to ensure proper ventilation during the process.
2. Sanding
- Choose Equipment: Use a drum sander for large areas and an edge sander for corners and edges. Rent a detail sander for hard-to-reach spots.
- Start with Coarse Grit: Begin sanding with coarse-grit sandpaper (36-40 grit) to remove the old finish and even out the surface.
- Progress to Finer Grits: Gradually move to medium (60-80 grit) and fine-grit sandpaper (100-120 grit) to achieve a smooth finish.
- Inspect the Floor: After sanding, inspect for remaining scratches or uneven areas and address them with additional sanding.
- Vacuum Thoroughly: Clean up all dust using a vacuum with a HEPA filter, followed by a tack cloth to wipe the surface.
3. Staining (Optional)
- Test the Stain: Apply the chosen stain to a small, inconspicuous area to confirm the color.
- Apply the Stain: Use a clean rag, foam applicator, or brush to apply the stain evenly along the grain. Work in manageable sections.
- Wipe Off Excess: After allowing the stain to penetrate for a few minutes, wipe off any excess with a clean cloth.
- Let It Dry: Allow the stain to dry completely, typically 24 hours, depending on the product instructions.
4. Refinishing
- Choose a Finish: Select a polyurethane finish (water-based or oil-based) or another protective topcoat based on durability and appearance preferences.
- Apply the First Coat: Use a lambswool applicator, foam roller, or synthetic brush to apply a thin, even coat of finish along the grain.
- Allow Drying: Let the first coat dry according to the manufacturer’s instructions (usually 4-24 hours).
- Lightly Sand Between Coats: Use fine-grit sandpaper (220 grit) to lightly sand between coats for smoothness. Clean up dust after sanding.
- Apply Additional Coats: Apply 2-3 coats of finish, allowing proper drying time between each.
5. Additional Work That Might Come Up
- Repairs: Replace damaged or missing boards before sanding. Fill gaps or cracks with wood filler.
- Leveling: Address uneven flooring by additional sanding or subfloor adjustments.
- Odor Control: If using oil-based products, consider air purifiers to manage strong odors.
- Baseboard Repainting: After refinishing, baseboards may need repainting or touch-ups due to accidental scuffs or wear.
- Hardware Reinstallation: Replace or upgrade floor vents and trims after the process.
- Buffing: For a high-gloss finish, buff the floor as a final step.
6. Final Steps
- Curing Time: Allow the floor to cure completely (up to 72 hours for light traffic; 7 days for furniture and rugs).
- Regular Maintenance: Protect the refinished floor with felt pads on furniture and regular cleaning using hardwood-safe products.
Proper execution of these steps will leave the floor with a refreshed, durable, and visually appealing finish.
Ready to schedule your free on-site estimate? Request a free hardwood floor refinishing estimate or give us a call today and experience the Custom Hardwood Flooring LA difference yourself.
